Sunday, November 6, 2016

Love Is Not A Destiny.....
A Project for 2Crafty Chipboard

Dear reader,

With a blink of an eye, 2016 is coming to an end......
and I can't believe it Christmas is coming up next month!

As the year closes, it's time to appreciate some precious moments of 2016. 
So here's one little moment of treasure....

Sunday is my usual lazy day...a treasured day and the only day where I get to laze in bed a little longer. But on this special Sunday, I decided to be a good girl and wake up early to spend breakfast time with hubby and Gabriel instead of snuggling under the warmth of my blankie :)

This photo was taken after dropping Gabriel off to his tuition class. 
Snapshot moment of just the 2 of us!


I seriously love the nature feel of this layout. 
Butterflies is always a great compliment to scrapbook pages.

These are the 2Crafty Chipboard used:
You can visit this link to check out their gorgeous chipboards:
http://www.2crafty.com.au/craft_chipboard/products_new.php

So here's some close up shots.


I left the Arrowed Hearts chipboards raw and created a dimension by layering one over the corner arch.


Zoom in on this Corner Arch, I have painted it with 2 coats of black paint and gave it a touch of prettiness with the little yellow butterfly.


This Brick Panel has also been left raw and layered between layers of pattern papers and frames.


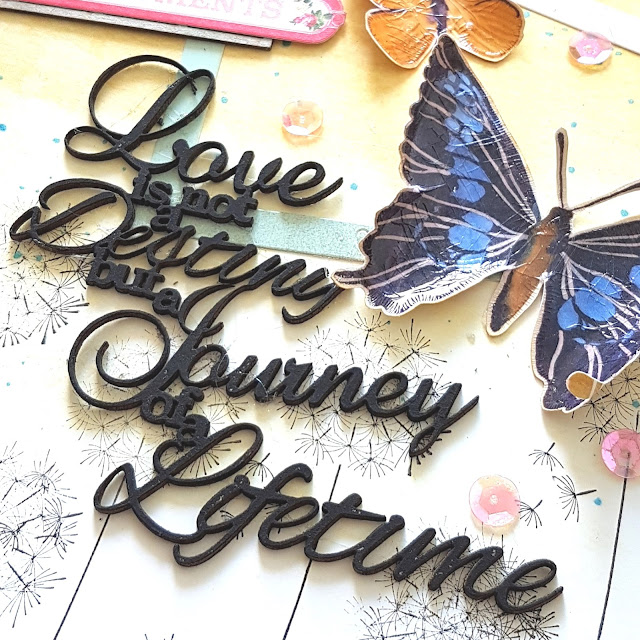
Finally the spotlight of this scrap page....this awesome title in great cursive fonts!
It's already so outstanding looking on it's own, so I just gave it 2 simple coats of black paint.

Some other details of this page...
  • The butterflies were fussy cut from a pattern paper and treated with a layer of crackle accent.
  • The piling of paper frames over the photo is from an old  Amy Tangerine collection.
  • The dandelions on the bottom of the page are actually stamped on by me. This lovely dandelion stamp is from Hero Arts which I bought many years ago and is still serving me well.

Hope you like what I have shared today. 

Happy Crafting!

Saturday, October 15, 2016

Guest Designer for CSI Color, Stories, Inspiration
Case File 215

Dear readers, 
This month 2Crafty Design team has been invited to make a guest appearance at CSI; a scrapbook challenge website.

So this is the mood board for Case File 215.

You will need to follow these easy peasy rules by using the clues listed above.


This is my take on Case File 215. 


And some close up shots on of my project to give a close up look on the 2Crafty Chipboards.


These are the 2Crafty supplies used:


There are 9 awesome prizes by the following sponsors to be worn. 
So hurry and join in for some fun!

For more details and inspiration, please visit this link:

Remember deadline for this project is 28 October 2016!!

Good luck and Happy Crafting! :)

Saturday, September 10, 2016

Remember Moments Like This
A project for 2Crafty Chipboard

Dear readers, 

Back today to share a project I have created for 2Crafty Chipboard.


This photo was taken during one of the mornings when I send him to school. 
He has a habit to request that I hang around the entrance to watch him go in all the way into the school premise. So I took this chance to take a quick snap of this moment and I love it!
I also wanted to record the huge school bag he has to carry to school daily and to add on he has to climb up 4 storeys to his classroom everyday!! TOUGH!!

Before I go on, these are the 2Crafty chipboards used on my layout.

So let's check out the details of my layout :)

First of, I'm showing off the cracked texture on the retro panel and cog border. 
I have painted the retro panel in Tattered Angels Decor & DIY paint in Mankato before giving a top coat of crackled accent.
Did the same for the cog border except that I have used white paint and dabbed on Distress Ink in Tea dye over the crackled accent. This gives it a burnt effect.


Next up, I'm zooming in on the title chipboard and do take notice on how I have layered the title chipboard over the cog border and flower.


In this 3rd photo, I'm focusing on the Spring Flowers. Check out how I have inserted them between layers of papers. The white stamen has also added a visual effect of young flowers 


In this photo, I showing how I have cut up the cog border into 3 section and tile them up on the layout. Really love the texture on the chipboard :)


Last shot....about the soft feathers. I treated with white paint and rub on the rest of the paint (which I have used on the retro panel) down the centre of the feathers to give them so depth.

Here are the rest of the supplies:
Pattern Papers: American Crafts - Amy Tangerine - Oh Happy Life Collection
Flower Stamen: Marion Smith
Paint: Tattered Angels - Decor & DIY - Mankato and White
Crackled Accent: Ranger -Clear Crackle
Distress Ink: Ranger - Tea Dye
Ink Blending Tool: Ranger
Edge Distresser: Prima Marketing
Adhesives: Beacon 3-in-1 glue and EK Success 3D foam dots
The rest of the pieces are left over scrap papers.

Thanks for popping by and hope you like what I have shared today.


Happy Crafting!


Saturday, June 18, 2016

June Projects for
2Crafty Chipboards

Dear readers,
Ready for more inspirations? :)
 
I'm here today to share 2 layouts I have created for 2Crafty Chipboards.
In this first layout, I have scrapped based on a photo taken during our recent trip to Universal Studio Singapore. 
 

On this layout, I wanted to have some clean space and also focus on layering the 
chipboards and flowers which I have fussy cut from a pattern paper.
Here are some close up photos for more details. 
Note that I have lightly applied a layer of Kaisercraft metallic gold paint to all the chipboards.
 

I have popped up the photo with some 3D glue dots and layered the title 
"Happiness is This" on top of the photo to make it really pop :)
In this photo, you get a glimpse of how I have layered the fussy cut flowers as well.


Here is another example of how I raised up the title chipboard with 3D glue dots which 
adds to the attraction and definitely looks much better than lying flat on the paper. 
It gives the whole layout a dimensional feel too.

 
In this last photo, I would like to zoom down to the worn look of the border chipboard. 
This is easily achieved as I have only lightly applied the gold paint and still allow some
 parts of the original chipboard to come through.
To finish off the layout, I have added on some speckles of gold and white paint around 
the page. Hope you like what  have share today and these are the 2Crafty chipboards used:
 
 
2Crafty Chipboard Used
Festive Music Notes 
 Happiness is This Mini Title 
 
Festive Music Notes (unit of 3)   Happiness is this Mini Title (unit of 3)  
Just the 3 of Us and Chevron Bits
Just the 3 of Us (unit of 3)  Chevron Bits (units of 3)
Other supplies:
Kaisercraft Metallic Gold Paint, Kaisercraft White Paint, EK 3D foam dots
Kaisercolour - Gold  Kaisercolour - White  
 

********************


For the second layout, I'm turning the spotlight to my boy.
 
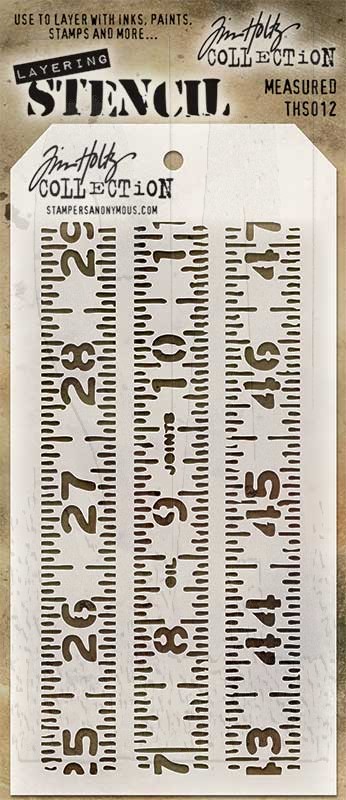
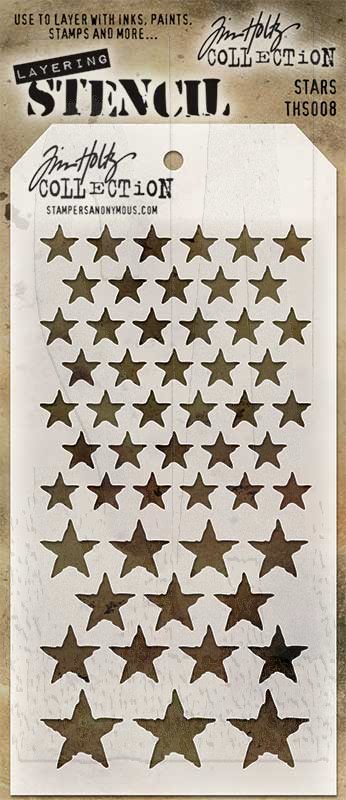
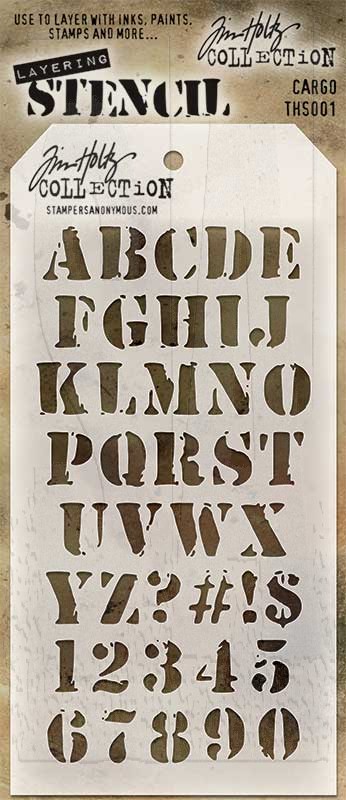
Lots of Tim Holtz distress inks and stencils were used on this page.
 
 
Scroll on to check out the close up photos and write up on how I have altered the chipboards.
 
 
On this title chipboard, I have actually gave it a layer of white gesso, followed by dabbing
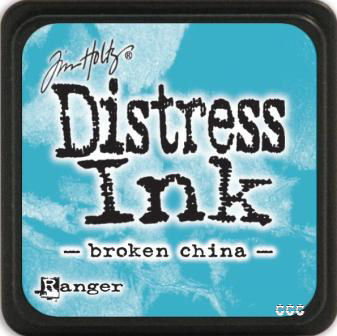
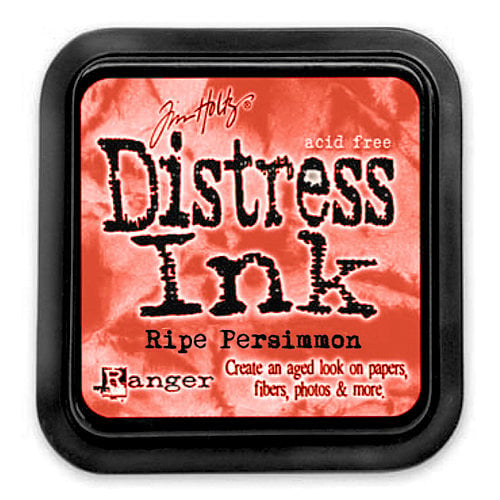
 Tim Holtz distress ink in broken china and ripe persimmon. Topping it up with a last
 layer of black gesso.
On the Harlequin clumps, to get the rusty look, I have dab with distress ink peeled paint,
 and aged mahagony and added on some white speckles.
 
 
On these chipboards, I have dabbed them all with distress ink directly to the raw chipboard.
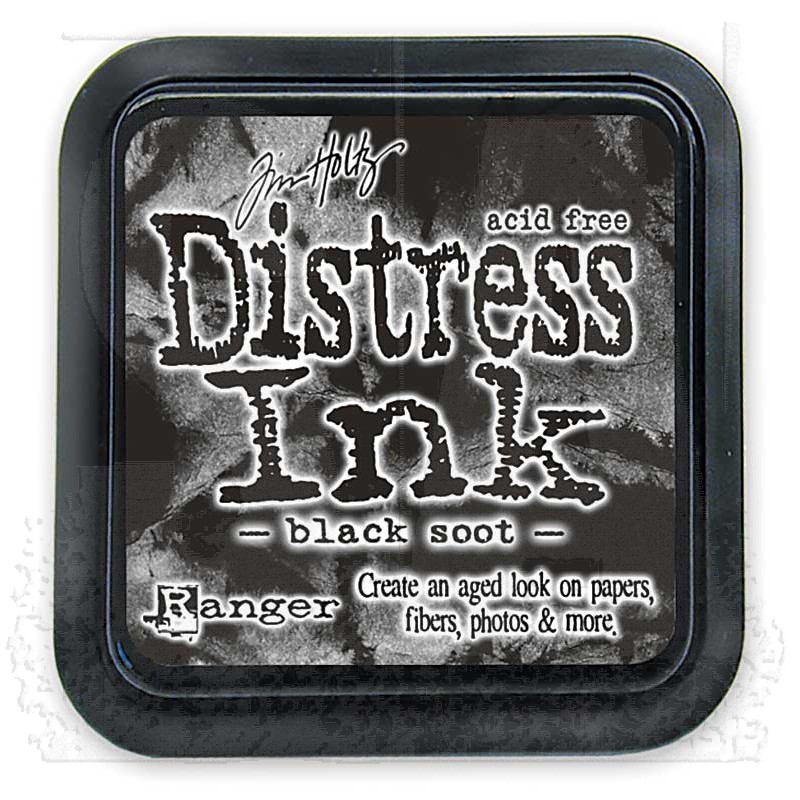
  • On the flourishes, they were very lightly dab with distress ink in black soot so that part of the original chipboard still shows.
  • On the interlocking grid panel and arrows, they were dabbed generously with distress ink in ripe persimmon. I allow the ink to soak into the chipboard. Another reason why I have directly inked on the raw chipboard is to allow the ink to appear in a darker shade.
  • The circle frame was actually from a left over chipboard that was holding the original piece. I dabbed it with distress ink in broken china, add some white speckles and to complete the look, I gently rub on some black gesso with my finger :)
  • As for the star chipboards, I have inked them with distress ink in weathered wood, add on some white speckles, and dab on the left over black gesso from my finger.
  2Crafty Chipboards used:
Asst Arrows
Love You To The Moon Set
Interlocking Grid Panel
 
Asst Arrows  (units of 3)  Love You to the Moon Set (unit of 3)  Interlocking Grid Panel (units of 3)
Elegant Flourishes, Handsome Little Man, Harlequin Clumps
Elegant Flourishes (unit of 3)  Handsome Little Man (unit of 3)  Harlequin Clumps  (units of 3)
Other supplies:
        Image result for tim holtz ray stencil  
Image result for ranger distress ink peeled paint   


Hope you like what I have shared today.
Happy Crafting!